Disclosure: The Stack Guidebook is reader-supported. When you buy through links on our site, we may earn an affiliate commission. Learn more in our Affiliate Disclosure.
Quick Answer
If your course already runs on Teachable or Thinkific, the fix for messy launch emails is not a new course platform. It is getting your purchase data into your email tool, so the tool knows who is still a prospect and who is already a student. Kit connects to both platforms: a Teachable purchase can trigger a Kit automation, and Thinkific’s Kit app adds enrolled students to Kit with tags. Build your sign-up forms on Kit’s free plan, then move to the paid Creator plan when you are ready to automate the launch sequence and connect your course platform.
Why Launch Emails Go Wrong When Your Course Lives Somewhere Else
Your course platform knows who bought. Your email list knows who signed up for your free guide or webinar. When those two facts live in different places, every launch turns into manual work: exporting buyer lists, guessing who should get the next announcement, and sending “last chance” emails to people who enrolled last week. The course itself is fine. The gap is between the course platform and the email list.
Decide First: Keep the Course Where It Is, or Move Everything?
Before changing tools, settle one question. Keeping your current course platform and fixing the email side makes sense when:
- your lessons, students and checkout already run smoothly on Teachable or Thinkific,
- moving the course would mean re-uploading content and re-inviting students, and
- your main pain is follow-up emails, not course hosting.
If instead you are still choosing where to host the course, or you want pages, emails and the course in a single account, an all-in-one setup may suit you better. We cover that route in How to Automate Your Online Course Funnel Without Juggling Separate Tools. The rest of this guide assumes you are keeping your course where it is.
Step 1: Give Every Free Offer Its Own Kit Form
Each free guide, webinar or waitlist should have its own sign-up form or landing page, so you always know how a subscriber found you. Kit includes unlimited landing pages and forms on every plan, including the free one. Apply a tag for each entry point (for example “webinar-signup”) when someone subscribes; tagging and segmentation are also available on the free plan. These tags are what later lets you send the right launch email to the right person.
Step 2: Connect Teachable or Thinkific So Purchases Reach Kit
This is the step that makes keeping your course platform work. According to Kit’s and Thinkific’s help centers:
| Course platform | What the connection does |
|---|---|
| Teachable | A course purchase on Teachable can trigger an automation in Kit. |
| Thinkific | Kit’s Thinkific app adds anyone who enrolls in a free or paid course to your Kit account and creates tags with Thinkific information on their subscriber profile. Thinkific states that this requires a paid Kit plan. |
Kit’s purchases feature can also record purchases from connected platforms, including Teachable and Thinkific, on each subscriber’s profile. Follow the setup instructions in each help center, and test the connection with a free enrollment or test purchase before your next launch.
Step 3: Stop Sending Launch Emails to Existing Students
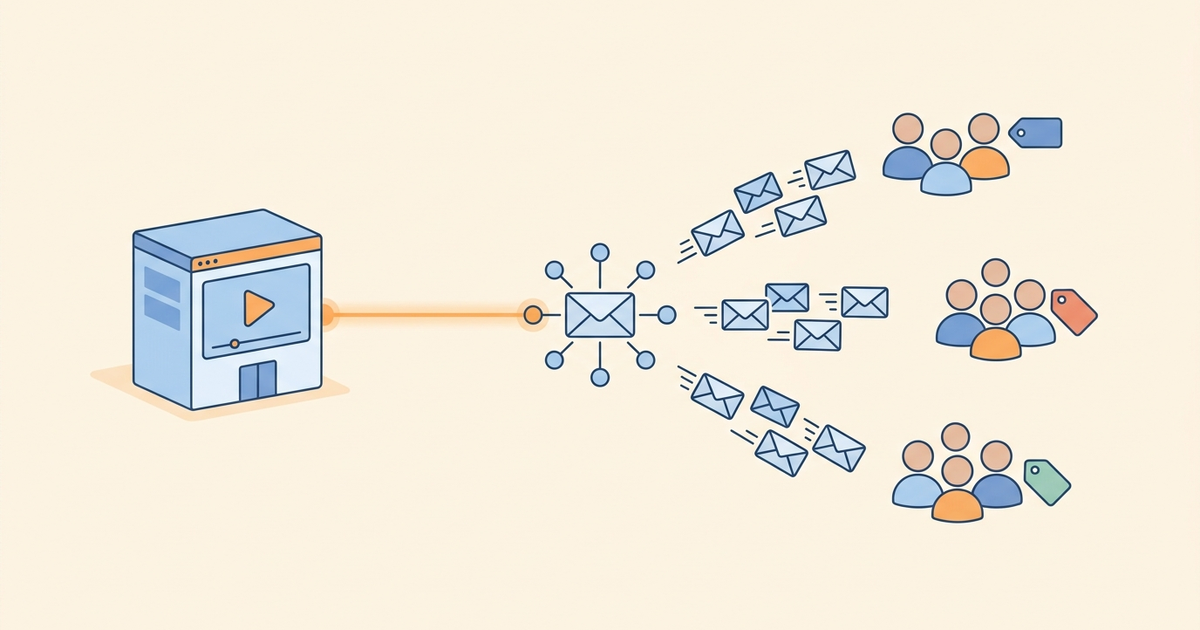
With purchases reaching Kit, you can separate prospects from students. Kit’s Visual Automations are built with a drag-and-drop builder and can be triggered when someone signs up, clicks a link or buys a product, with actions such as sending emails, adding or removing tags and moving subscribers into sequences. A simple launch setup looks like this:
- A sign-up tag starts a short welcome and launch sequence.
- A course purchase adds a “student” tag and moves the person into an onboarding sequence instead.
- For one-off launch broadcasts, send to a segment that leaves out the student tag. Check the exact filter options in your account before your first launch.
Unlimited Visual Automations and email sequences are part of the paid Creator plan, so this is the point where the free plan stops being enough.
Step 4: Check Which Offers Turn Into Students
After a launch, look at three things in Kit: the landing page and form signups chart, to see which free offer brings in subscribers; the subscriber charts for new and total list growth; and the sequence reports, which show open rate, click rate and unsubscribes for each email. These reports and the purchase data from Step 2 are separate views, so to see which entry points lead to enrollments, build a segment that combines each sign-up tag with the student tag and compare the counts. Kit’s Insights dashboard, which tracks which growth channels bring in new subscribers, is listed as a Pro plan feature.
What You’ll Pay: Free Plan vs. Creator
According to Kit’s official pricing page:
| Plan | Price shown (per month) | What it covers in this setup |
|---|---|---|
| Free | $0, up to 10,000 subscribers | Step 1: unlimited landing pages and forms, broadcasts, tagging and segmentation |
| Creator | $33 billed monthly, shown for 1,000 subscribers | Steps 2 and 3: unlimited Visual Automations and sequences, apps and integrations |
| Pro | $66 billed monthly, shown for 1,000 subscribers | Extra reporting such as the Insights dashboard, engagement analytics and deliverability reports, plus unlimited users |
Annual billing is listed at a lower effective rate, and Kit lists a 14-day free trial without a credit card. Prices are shown for a list of 1,000 subscribers, so check the pricing page for the cost at your list size before you commit.
When Kit Isn’t the Right Fit
- You want the course and emails in one account. An all-in-one platform avoids the connection step entirely; see the guide linked in the decision section above.
- You want a broader marketing suite. If email is only one part of a wider marketing setup, GetResponse is worth comparing.
- Your course platform is not supported. This guide relies on Kit’s connections to Teachable and Thinkific. If your platform is not among Kit’s integrations, check how purchases would reach Kit before you build your launch around it.
Summary
You do not have to move a working course to fix your launch emails. Give each free offer its own Kit form and tag, connect Teachable or Thinkific so purchases reach Kit, let automations move buyers from launch emails to onboarding, and use Kit’s signup and sequence reports to see what turns subscribers into students. Start the list on the free plan, and upgrade to Creator when you are ready to automate.
Next step: Start building your list with Kit’s free plan, then connect your course platform once your first sign-up form is live.
Product features, plan limits, and prices change over time. Always confirm current details on the official Kit website before making a purchase decision.